

Wer auf der Suche nach einem Fahrradhelm ist, der kommt auch an dem Trend der Nutcase Fahrradhelme nicht vorbei. Die Geschichte dahinter klingt fast wie ein klassisches Beispiel für einen Hollywoodfilm. In einer Garage in den USA wurden die bunten und auffälligen Nutcase Helme entdeckt, entwickelt und marktfähig gemacht.
Inhaltsverzeichnis
Die Idee hinter den auffälligen Fahrradhelmen
Nutcase Helme zeichnen sich dadurch aus, dass sie besonders auffällig, bunt und mit einem unverkennbaren Design gestaltet sind. Der Erfinder Michael Morrow war der Meinung, dass es keine schönen Fahrradhelme gibt, die von dem Fahrradfahrer, aber auch anderen Sportlern gerne getragen werden. Der erste Prototyp eines Nutcase war ein schlicht schwarzer Schalenhelm. Ziel war es jedoch Helme zu gestalten, die in der Schutzfunktion den normalen Mikroschalen-Helmen in nichts nachstehen. Dabei sollte das Design so sein, dass man mit Witz und Kreativität das Tragen eines Schutzhelms bzw. Fahrradhelms attraktiver macht.
Gerade Kinder und Jugendliche finden die normalen Fahrradhelme oft „uncool“ und lassen diese lieber weg. Diskussionen mit den Eltern sind häufig an der Tagesordnung, mit dem richtigen Helm sollten diese entfallen.
 zu Amazon, Webseiten, Onlineshops, Händlern oder Hersteller.")

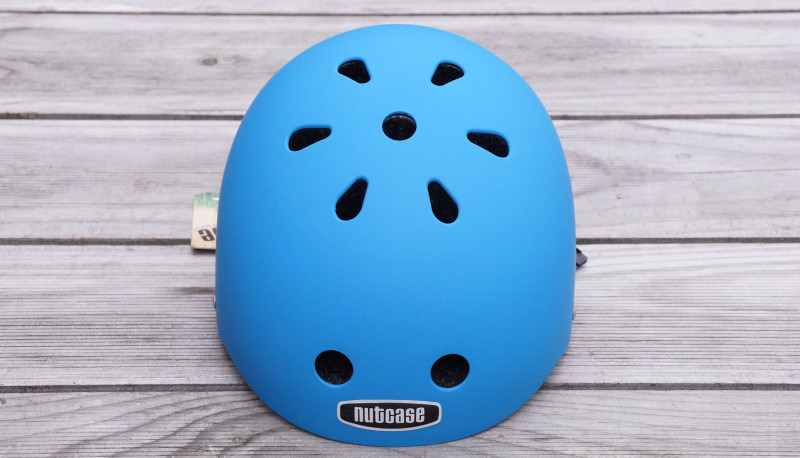
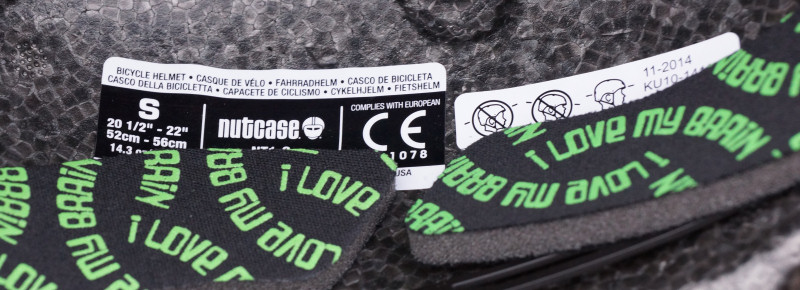
Die Nutcase Helme schneiden im Test in Punkto Sicherheit recht gut ab. Sicher muss also nicht immer gleich unschön sein. CE Prüfzeichen und EU Normen werden eingehalten. Auch Elemente wie Luftschlitze sind für eine ausreichende Belüftung vorhanden. Der große Vorteil der Helme, sie gehen bis in den Nackenansatz und schützen so auch ideal den Hinterkopf. Ein abnehmbares Visier, austauschbare Innenpolster und ein weicher Textil-Kinnriemen gehören zur zum Lieferumfang der meisten Modelle. Die Helme gibt es für Erwachsene und für Kinder.
Layouts wie ein Wassermelonendesign entsprechen dabei der Grundform des Helms. Schildkrötenoptik, bunte und schrille Farben, auffällige Aufdrucke und lustige Motive sind oft auf den Helmen zu finden.
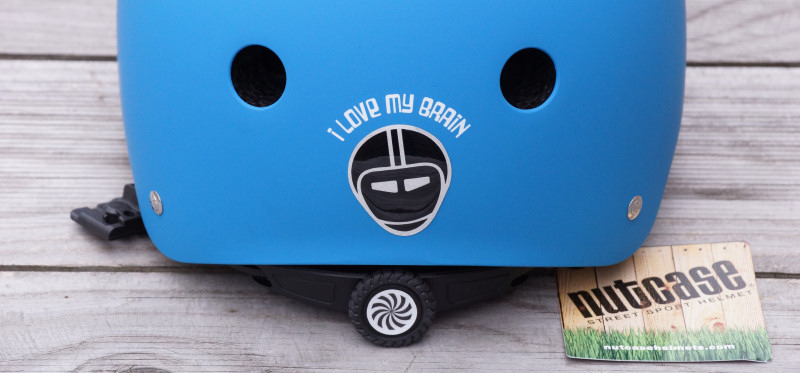
Bei uns kennt man die Helme mehr aus dem Sportbereich und vom Skaten. Skater haben den Schalenhelm oftmals für sich selbst gestaltet und modifiziert. Michael Morrow hingegen möchte direkt die fertigen und originell gestaltetet Nutcase Helme auf dem Markt etablieren. Seit 2005 kann man diese beliebten Helme frei kaufen. Nach dem Motto : „I Love my brain!“ sind die Helme auf den Markt gekommen. Angeboten werden die Helme für den Rad, Skate, Water, Kids und Moto Einsatz.
Ausstattung vom Radhelm
Damit die Fahrradhelme gut passen, haben diese eine Stellschraube am Hinterkopf. Hiermit kann man den Riemen am Hinterkopf solange in der Größe anpassen, bis der Helm optimal am Kopf sitzt. Die innenliegende Polsterung lässt einen zwar den Helm auf dem Kopf spüren, macht dies jedoch nicht unangenehm.
Der blaue Helm von den Bildern wiegt nach Herstellerangaben knapp 406 Gramm (M – 52 cm bis 56 cm). Dies ist für einen Fahrradhelm nicht wenig, von der Verarbeitung her macht der Nutcase jedoch einiges her und wirkt sehr wertig. Die Grute lassen sich auch in Kombination mit einer Fahrradbrille gut tragen.
Der Kinnriemen und die Fixierung für den Riemen sind hochwertig und machen einen soliden Eindruck. Die Polsterung am Kinn ist ausreichend und bietet genau das, was man von ihr erwartet.
Anders als beim Fahrradhelm von Tchibo ist der Nutcase kein In-Mould-Helm. Hier bei wurden die beiden Elemente getrennt voneinander hergestellt und im Anschluss zusammengefügt.
Hier ein Herstellervideo zum Helm
Nutcase Fahrradhelm Ideal für Kinder
Der Helm ist ideal für alle Kinder, die einen Fahrradhelm uncool finden. Durch die Skateroptik kann man die Kleinen über das positive Image eines solchen Helms zum Tragen bewegen. Skaterlegende Tony Hawk hat z.B. auch einen ähnlichen Helm getragen.
Unser Fazit zum Nutcase Helm
Ideal für alle, die keinen normalen Radhelm tragen möchten. Vom Preis-Leistungsverhältnis ist der Velohelm absolut im Rahmen. Für teilweise unter 50 Euro bekommt man hier einen modernen Radhelm. Der Helm ist nicht unbedingt für Rennradfahrer geeignet, hier schlägt das recht Hohe Gewicht negativ zu Buche.
Dies ist kein klassischer Testbericht, aber dennoch geben wir dem Nutcase 4.2 von 5 möglichen Punkten. Die Nutcase Helme gibt es auch bei uns in Deutschland zu kaufen.
Mehr dazu unter: